本文介绍如何在嬴图Manager中进行图建模、插入及修改图数据,并给出UI操作及UQL语句的示例。
图模型
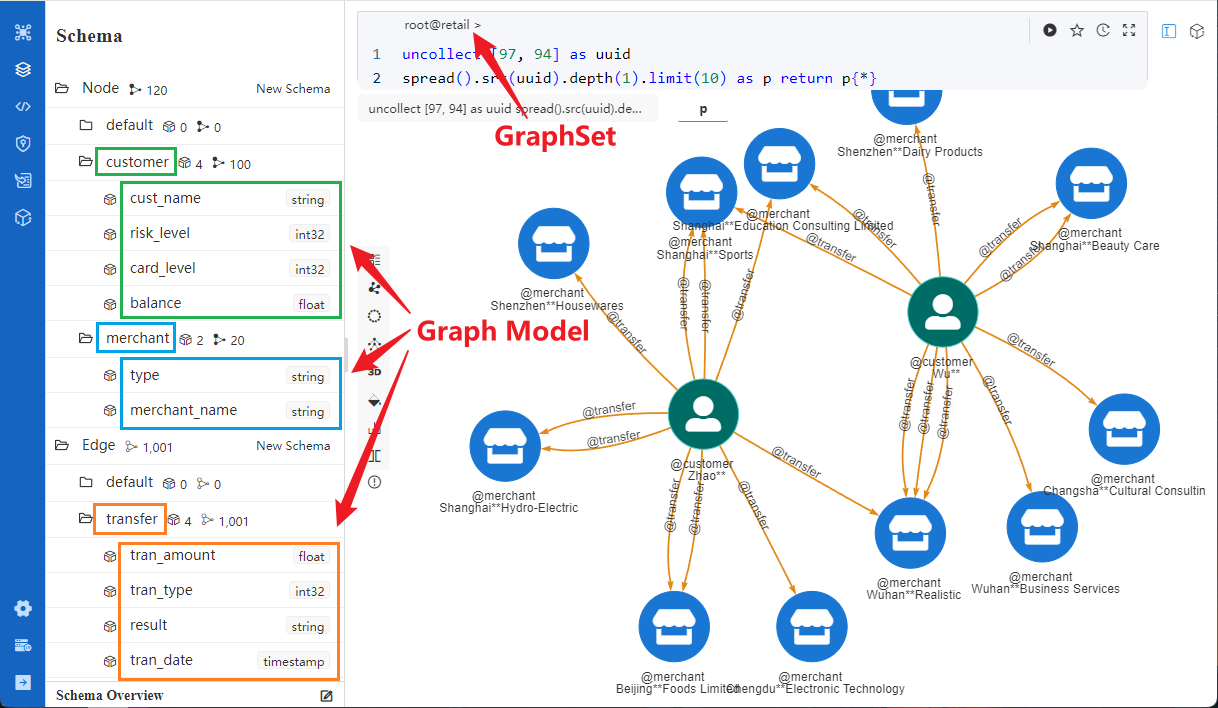
图模型(Graph Model)是指图集(GraphSet)的Schema和属性:
如何执行UQL
create().graph("retail_test")
这句UQL可以创建一个名为retail_test的图集。
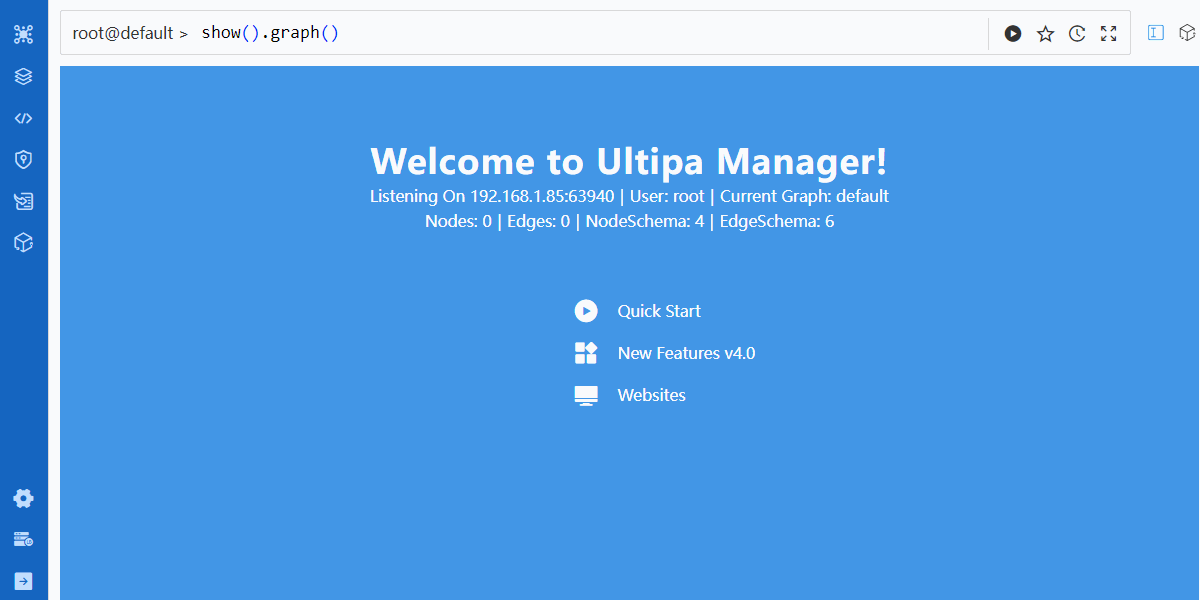
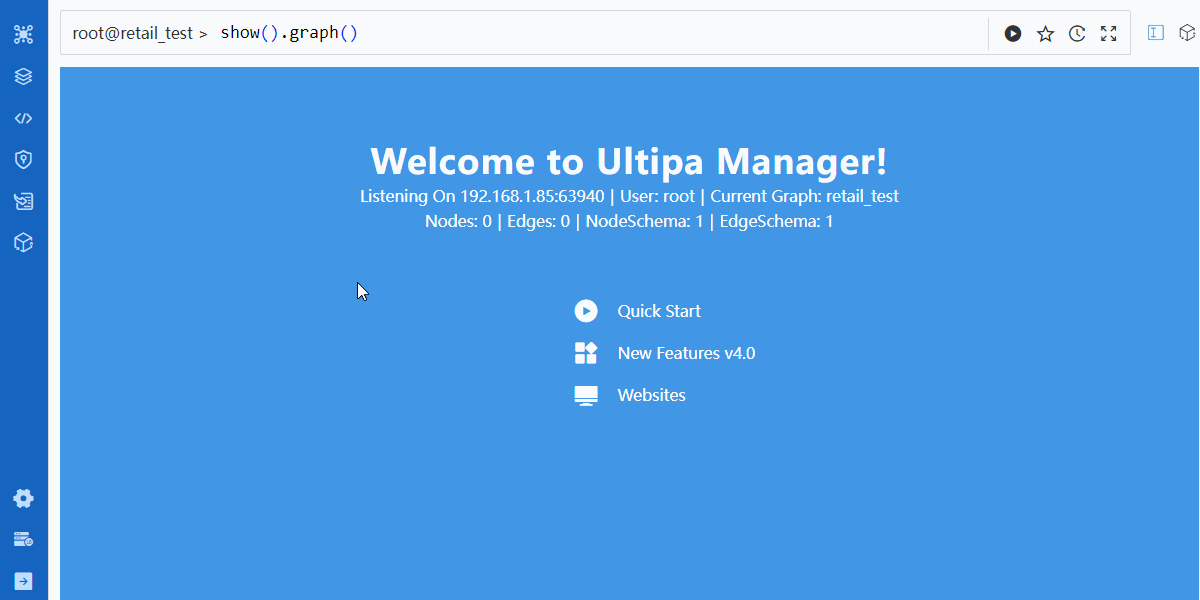
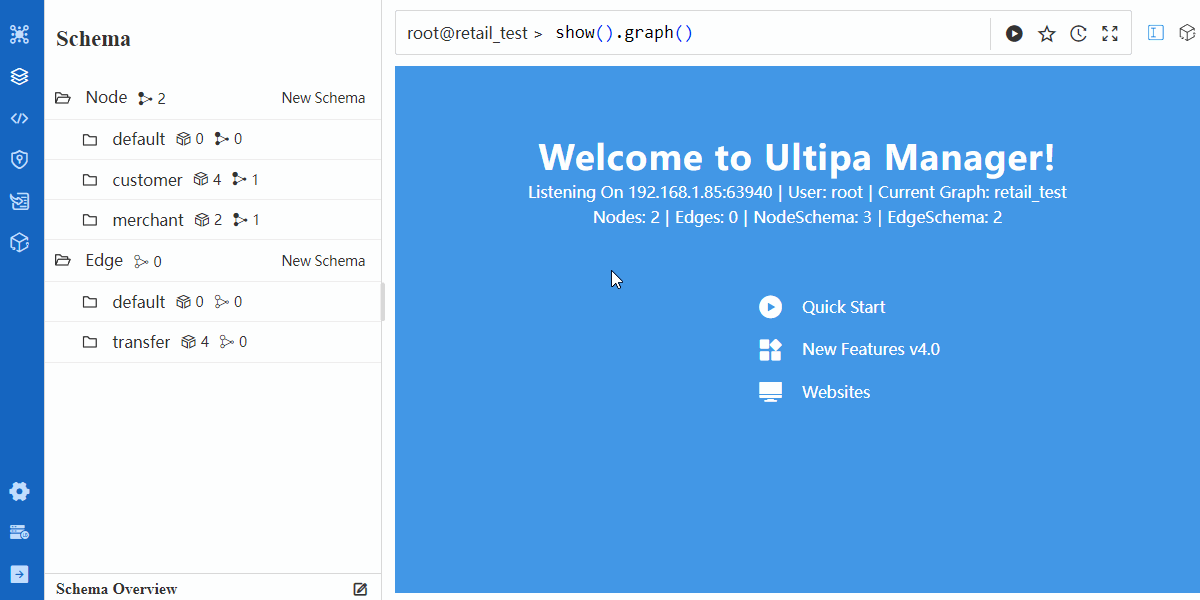
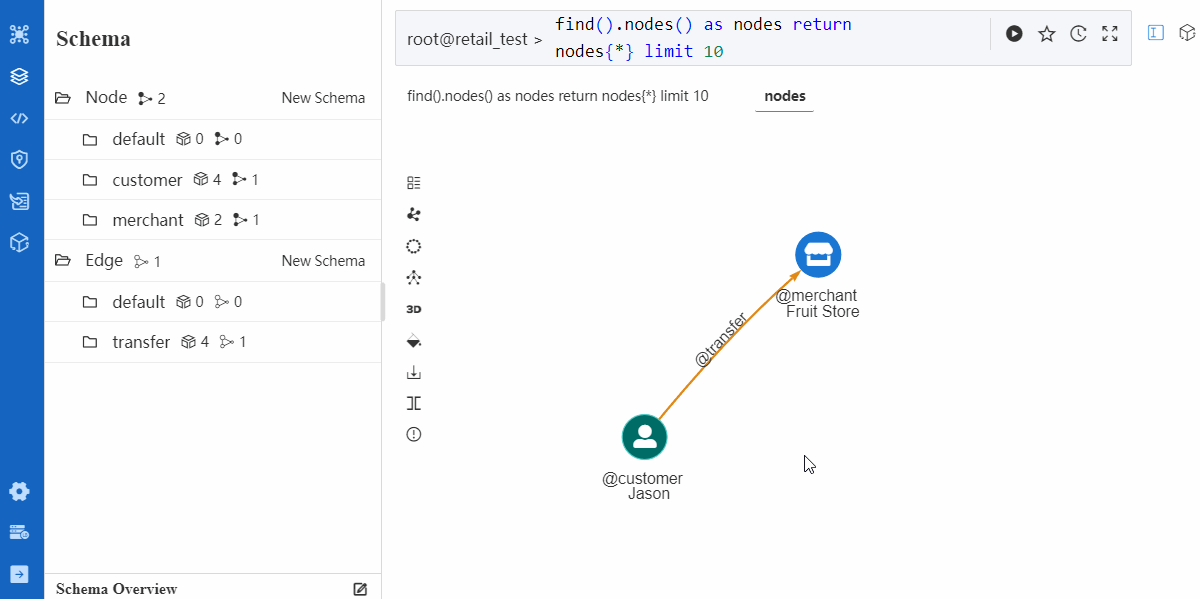
在嬴图Manager中,可以在顶部的命令行窗口中编写并运行UQL语句(图二),某些UQL还可以通过UI操作进行组装并运行(图三):

注意:创建图集后须在图集列表中点击 Select 切换至该图集,才能保证后续操作均针对该图集而进行(图3)。 切换图集是由 SDK 进行的,并非 UQL 功能。
建模
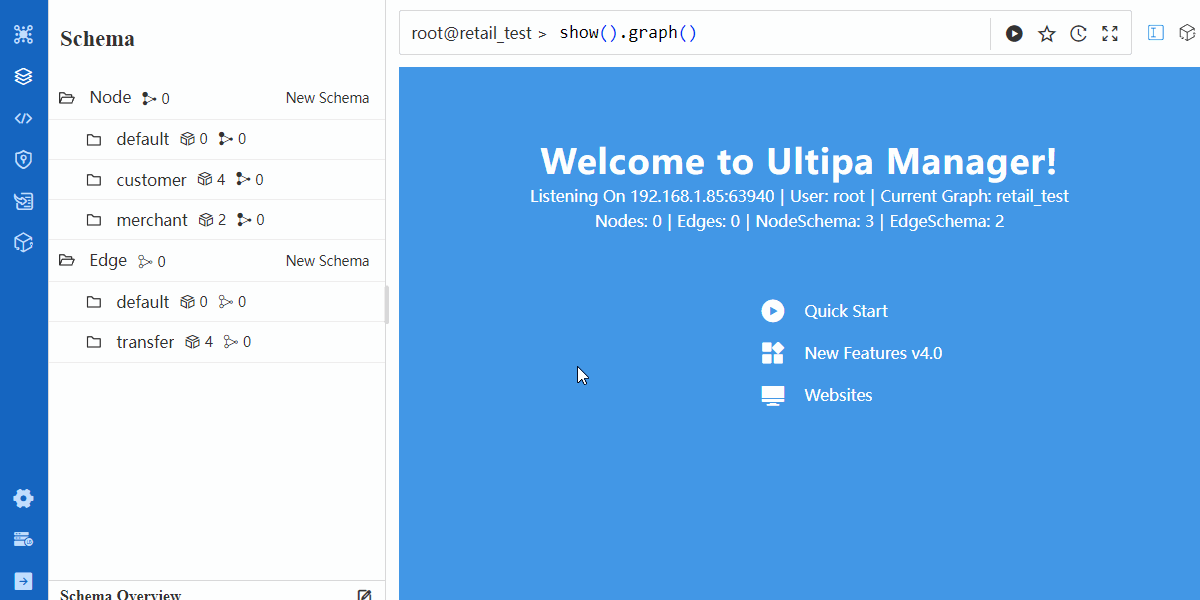
图四展示了一个简单的建模过程,其本质是通过UI交互拼接以下两个用于创建点schema和点属性的UQL:
// 创建点schema 'customer'
create().node_schema("customer")

// 为点schema 'customer'创建属性'balance',数据类型为'float'
create().node_property(@customer, "balance", float)
以上这些UQL的特征:
- 以
create()命令开头 - 参数
node_schema()、node_property()等通过英文句点.连接在命令后 - 先创建Schema,再创建其属性
- 用户只需创建自定义属性,不能创建系统属性(参见元数据)
请根据图一所展示的图模型,创建所有Schema及其属性。
关于建模的详细语法请阅读UQL文档中的图集、Schema和属性。
元数据
元数据是对点和边的统称,也就是之前所讲的图数据。
插入点
点有两个系统属性,_id和_uuid,它们均为点的唯一标识符,只是数据类型不同。
点击阅读更多关于元数据的唯一标识符。
下面这些UQL语句均向点Schema customer中插入点:
// 插入一个点,自定义属性值为null,_id和_uuid由系统自动分配
insert().into(@customer).nodes({})

// 插入两个点,自定义属性值为null,_id和_uuid由系统自动分配
insert().into(@customer).nodes([{},{}])

// 插入一个点,cust_name属性值为Jason,其他自定义属性值为null,_id和_uuid由系统自动分配
insert().into(@customer).nodes({cust_name: "Jason"})

// 插入一个点,_id值为CU001,自定义属性值为null,_uuid由系统自动分配
insert().into(@customer).nodes({_id: "CU001"})

// 插入一个点,指定cust_name和_id属性的值,其他自定义属性值为null,_uuid由系统自动分配
insert().into(@customer).nodes({cust_name: "Jason", _id: "CU001"})
...
这些UQL的特征:
- 以
insert()命令开头 - 在参数
into()中声明Schema,在nodes()中将每个点的属性值组织为对象格式 - 未提供的自定义属性值为null
- 未提供的
_id和_uuid将自动生成
点击阅读更多关于插入元数据的介绍:插入、插入覆盖、插入更新。
插入边
边只有_uuid一种唯一标识符,但另有4个系统属性,即边的起点和终点的唯一标识符_from和_to、_from_uuid和_to_uuid,其中至少一对必须在插入边时提供。
以下UQL均向边Schema transfer中插入边(由点CU001或CU002指向点MC001):
// 插入一条边,自定义属性值为null,_uuid由系统生成
insert().into(@transfer).edges({_from: "CU001", _to: "MC001"})

// 插入两条边,自定义属性值为null,_uuid由系统生成
insert().into(@transfer).edges([{_from: "CU001", _to: "MC001"},{_from: "CU002", _to: "MC001"}])

// 插入一条边,tran_amount属性值为1000,其他自定义属性值为null,_uuid由系统自动分配
insert().into(@transfer).edges({_from: "CU001", _to: "MC001", tran_amount: "1000"})

// 插入一条边,_uuid为1,自定义属性值为null
insert().into(@transfer).edges({_from: "CU001", _to: "MC001", _uuid: 1})

// 插入一条边,指定tran_amount和_uuid,其他自定义属性值为null
insert().into(@transfer).edges({_from: "CU001", _to: "MC001", tran_amount: "Jason", _uuid: "CU001"})

...
与插入点类似,这些插入边的UQL具有以下特征:
- 以
insert()命令开头 - 在参数
into()中声明Schema,在edges()中将每个边的属性值组织为对象格式 - 未提供的自定义属性值为null
- 未提供的
_uuid将自动生成 - 必须提供
_from和_to(或_from_uuid和_to_uuid),并且这些点必须已经存在
点击阅读更多关于插入元数据的介绍:插入、插入覆盖、插入更新。
关于批量导入数据(如CSV文件、其他数据库等)的方法,请阅读数据导入。
更新元数据
更新点、边的UQL示例:
// 将所有点的type属性值改为IV
update().nodes().set({type: "IV"})

// 将_id为CU001的点的type属性值改为IV
update().nodes({_id == "CU001"}).set({type: "IV"})

// 将merchant_name属性值包含 'Beijing'的点的type属性值改为IV
update().nodes({merchant_name contains "Beijing"}).set({type: "IV"})

// 将所有边的result属性值改为success
update().edges().set({result: "success"})

// 将_uuid为1的边的result属性值改为success
update().edges({_uuid == 1}).set({result: "success"})

// 将_from为CU001的边的result属性值改为success
update().edges({@transfer._from == "CU001"}).set({result: "success"})
...
这些UQL语句的特征为:
- 以
update()命令开头 - 在参数
nodes()或edges()中描述需要更新的点、边(描述方法详见图数据) - 在参数
set()中将点、边的新属性值组织为对象格式,未提供的属性值不变 _id和_uuid的值不支持更新
update()命令用来更新元数据的属性值,而非对属性进行重命名。对属性、Schema、图集进行重命名属于修改图模型的操作,详见UQL文档中的图集、Schema和属性。